
What AI Pose Gallery provides
POSE-DB-01, the original AI Pose Gallery is a collection of gray mannequin drawings in different poses and camera views. Choose the body position you want for your character, then use that image as a pose reference.
Look at the view as well as the action. A front view, side view or view from above changes how the arms and legs overlap. Pick the image closest to the composition you want.
The creator keeps downloads and usage terms on the original site. Check those terms when choosing a reference. Share the original gallery link when you want to recommend the collection to someone.
1. Get the pose image
- Open the original AI Pose Gallery. Browse or search for the pose you like.
- Open the selected pose and compare its available camera views. Keep one clear figure, with the hands and feet visible.
- Choose 元サイズをダウンロード(PNG) to download the original-size PNG. You can also copy the image if your browser provides that action.
Use one pose image rather than a screenshot of the whole gallery. If you saved several figures in one image, select the one pose you want before uploading it.
2. Add the pose on the left
Open the AI pose generator. In the left upload field, add the pose you downloaded or paste the copied image. Check the preview to make sure it shows the pose you intended to use.
The pose field supplies the body position and camera view. A chair, step or other object that supports the action can stay visible in this reference.
3. Add your character on the right
In the right upload field, add the person or character you want to put in that pose. Choose a clear photo or illustration showing the face, hairstyle and clothes you want to keep.
A full-body image helps when the finished image needs to include the same trousers and shoes. The two inputs have separate roles: the left image supplies the pose, and the right image supplies your character. Both are required before generation.
Add your pose and characterA pose image and a character image
The left image supplies the seated pose. The middle image supplies the character, clothes and visual style. Use the two inputs together to put that character in the pose.
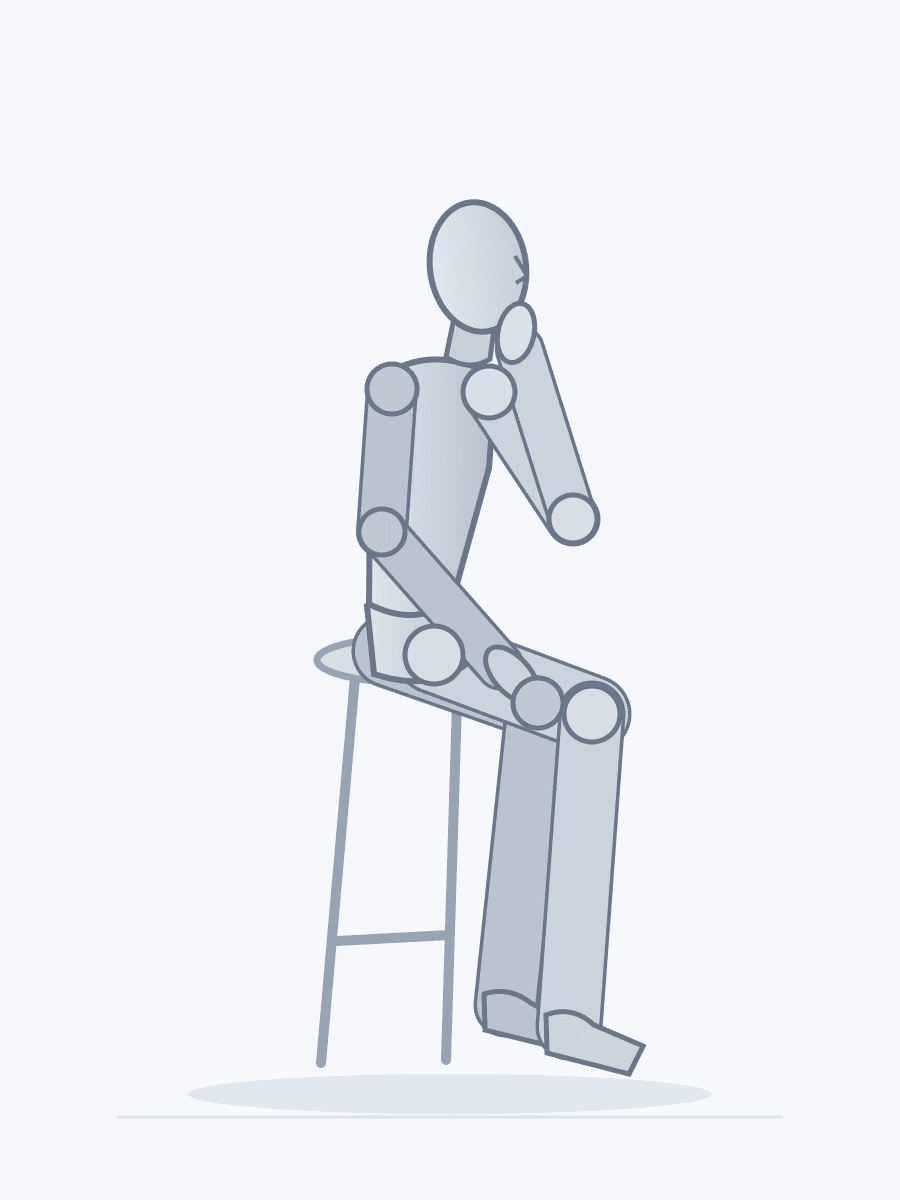
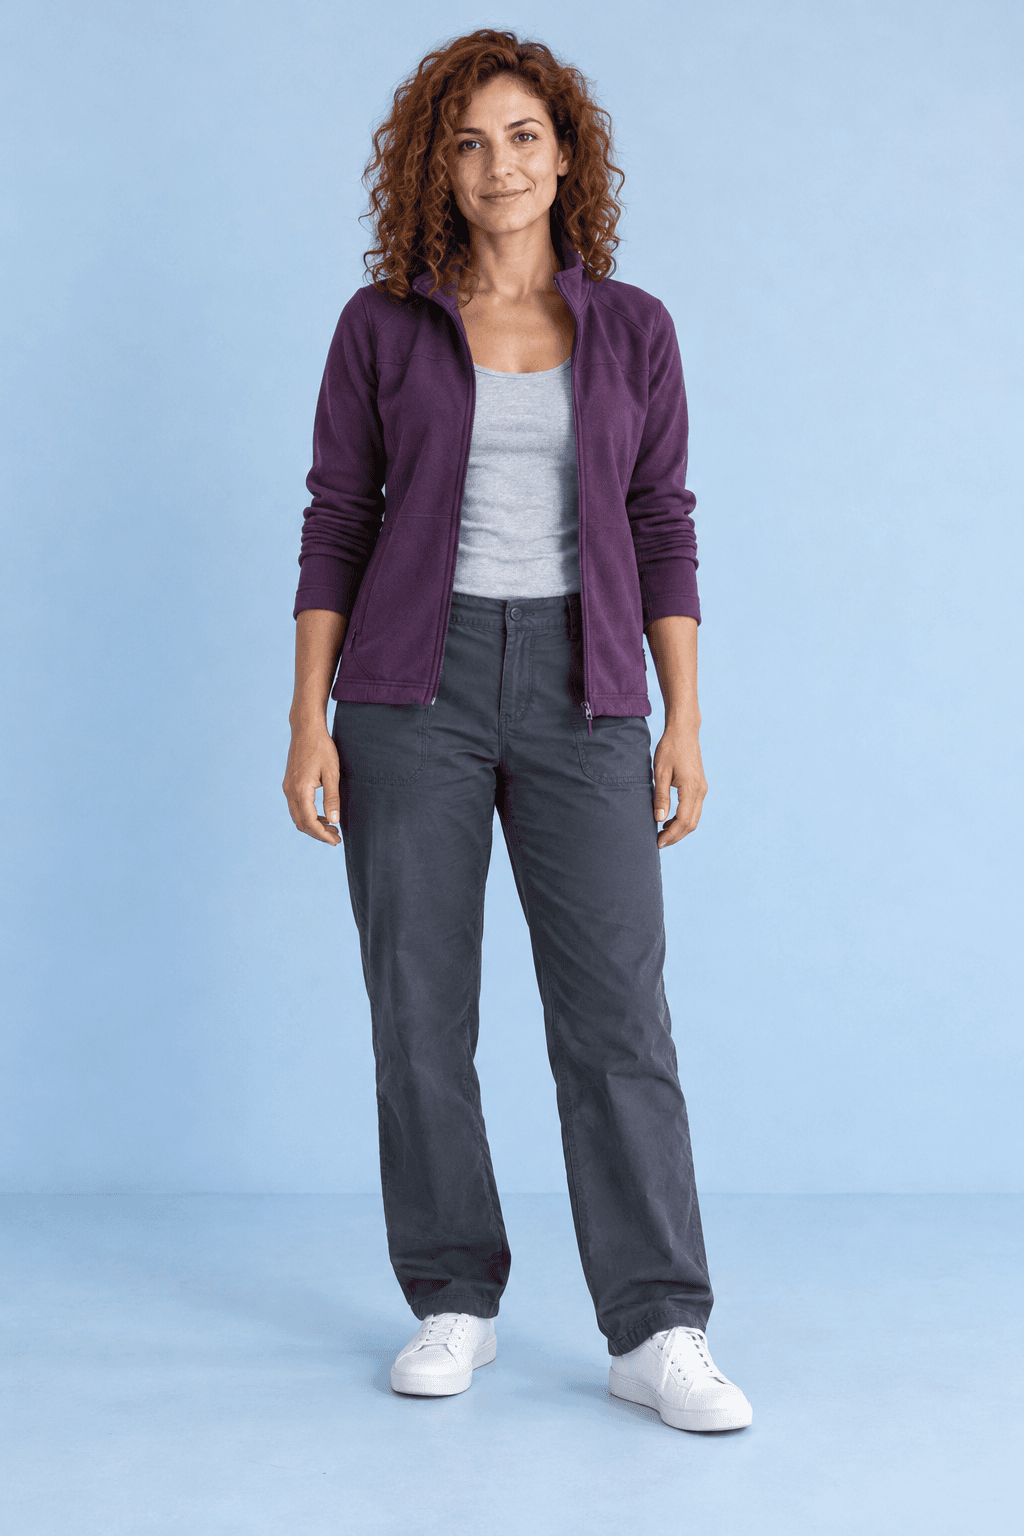
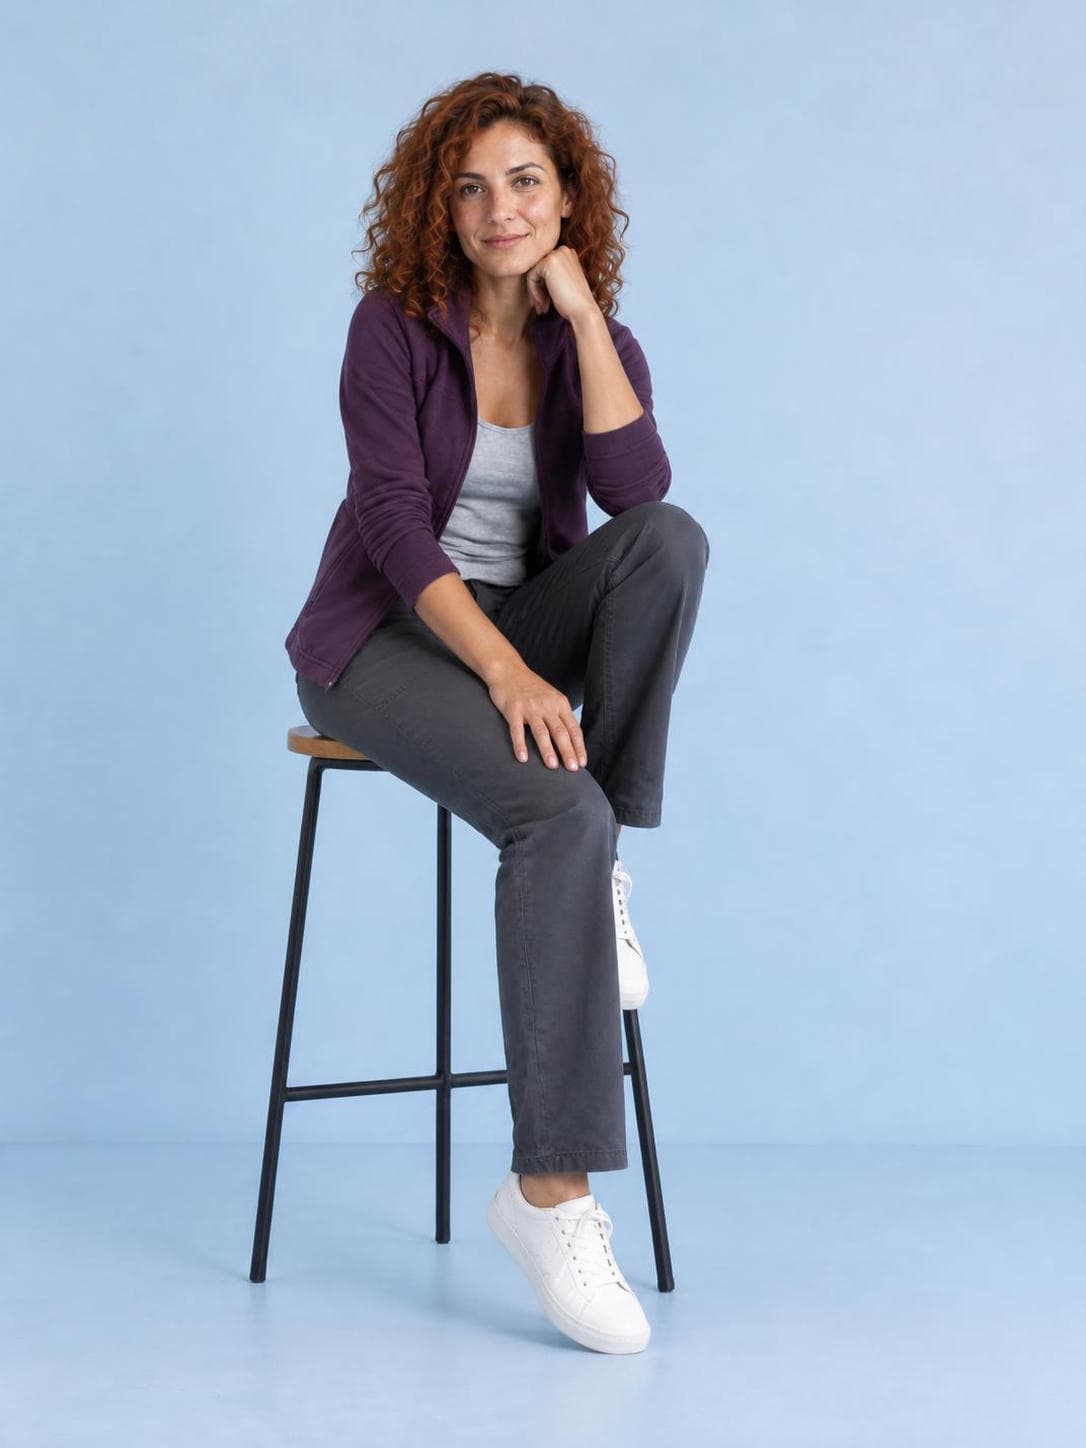
This example uses a new character and an original pose reference made for this guide. Download a pose from the original gallery when you want to try one of its references yourself.
4. Generate and check the result
Click Generate when both images are ready. You do not need to write a prompt. The tool uses the pose image and character image together to make the new image. Model, image shape and credit cost are available in the settings before generation.
Compare the body direction, arms, knees and head with the pose. Then compare the face, hair and outfit with your character. Look closely at hands, feet and contact with objects such as a chair.
If the main action is missed, try a clearer pose reference. Small joint positions or the camera angle can change between the reference and the result. Keep the character image and replace only the pose when you want to try another position.
Download the version you like. Your generated images also appear in private history. Continue editing makes a result your next character image, ready for another pose reference.
Common questions
Do I need to arrange a 3D figure first?
Start with the pose image you already like. Upload or paste that image on the left, add your character on the right and click Generate.
Can I use the same character for several poses?
Yes. Keep the character image on the right and replace the pose on the left for each new image. Compare the face and outfit across the results before choosing the ones you want to keep.
Where should I send someone who wants the gallery?
Share the original creator's site. The creator maintains the collection, downloads and current terms there. The example images in this guide are PhotoGenerAI originals.
Try your pose with your character